

Helpful Artwork Guidelines

Our dedicated art team is committed to collaborating with you to ensure your artwork looks exceptional on any product you select. Discover more about our artwork process and how we bring your designs to life.

Accepted File Types

We offer multiple ways to submit your artwork: you can upload it during checkout, use our design lab, email it to us, or upload it through your account's order details. Simply send us what you have, and we'll handle the rest. To ensure the fastest processing time, we recommend submitting vector file formats whenever possible. *Please note: Renaming a file with a vector extension does not change its file type.*

Preferred Vector File Types

PDF icon representing accepted file types for artwork submission in custom product printing.

PDF (Adobe Acrobat)

Embed the fonts used or export as generic .eps

AI icon representing vector file formats for artwork submission in custom product printing.

AI or EPS (Adobe Illustrator)

Convert text to outlines, embed any linked images

CDR icon representing Corel Draw file format for custom product printing artwork.

CDR (Corel Draw)

Convert text to curves

Other Accepted File Types

Document icon representing accepted DOC, PPT, and PUB artwork file types.

DOC, PPT or PUB

(Microsoft Office Files) Embed or include fonts

Bitmap icon representing accepted raster artwork file formats.

BITMAPS

(.jpg, .tif, .pcx, .gif, .png, .bmp)

Imprint Types

Applique artwork example showing stitched fabric elements.

Applique

Pieces of fabric are stitched into the item to create the imprint.

Deboss artwork example showing a depressed imprint on material.

Deboss

The imprint is depressed into the item's surface.

Deep etch artwork example for custom product imprinting.

Deep Etch

The imprint is sandblasted, resulting in a deeply frosted appearance.

Emboss artwork example showing a raised imprint.

Emboss

The imprint is raised on the surface of the item.

Embroidery artwork example showing stitched custom branding.

Embroidery

Computerized sewing machines stitch the imprint onto the item.

Foil stamp artwork example showing metallic imprint styling.

Foil Stamp

Metallic foil resins are applied to the surface of the item.

Full color artwork example for CMYK product imprinting.

Full Color

The imprint is printed in CMYK enabling the incorporation of photos.

Heat transfer artwork example for custom merchandise.

Heat Transfer

Heat is applied to thermally bond the imprint to the surface of the item.

Laser engraved artwork example for product customization.

Laser Engraved

The imprint is etched into the item using a laser.

Pad print artwork example showing ink transfer.

Pad Print

The imprint is transferred to the item using an inked flexible pad.

Satin etched artwork example showing frosted glass imprinting.

Satin Etched

The application of acid on glass creates a frosted appearance for the imprint.

Screenprint artwork example showing custom printing technique.

Screenprint

Ink is pressed through a screen onto the surface of the item.

How to Convert Text to Outlines

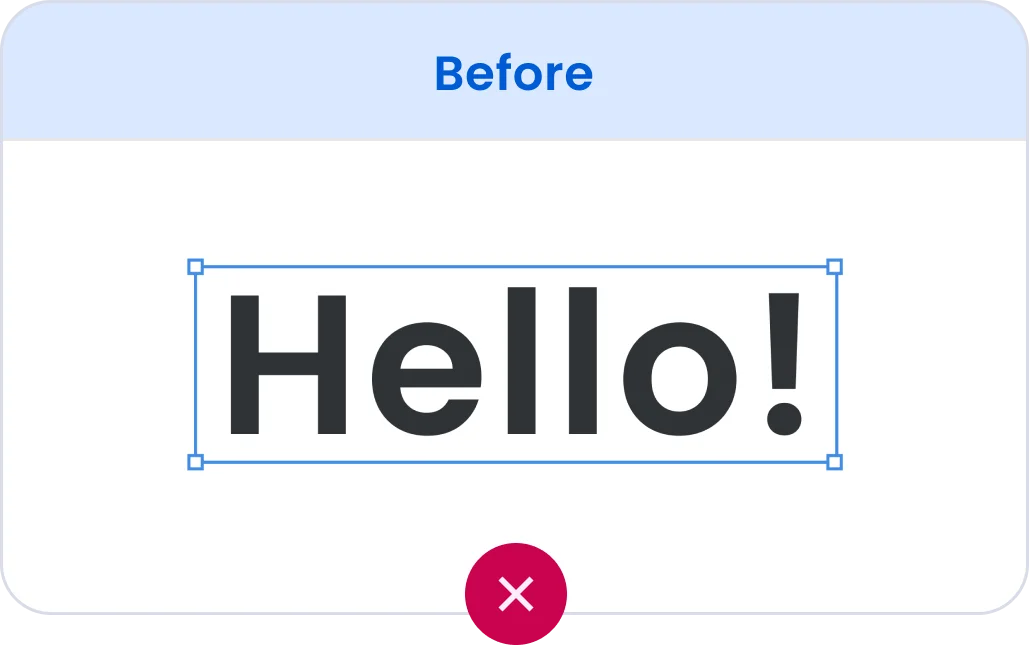
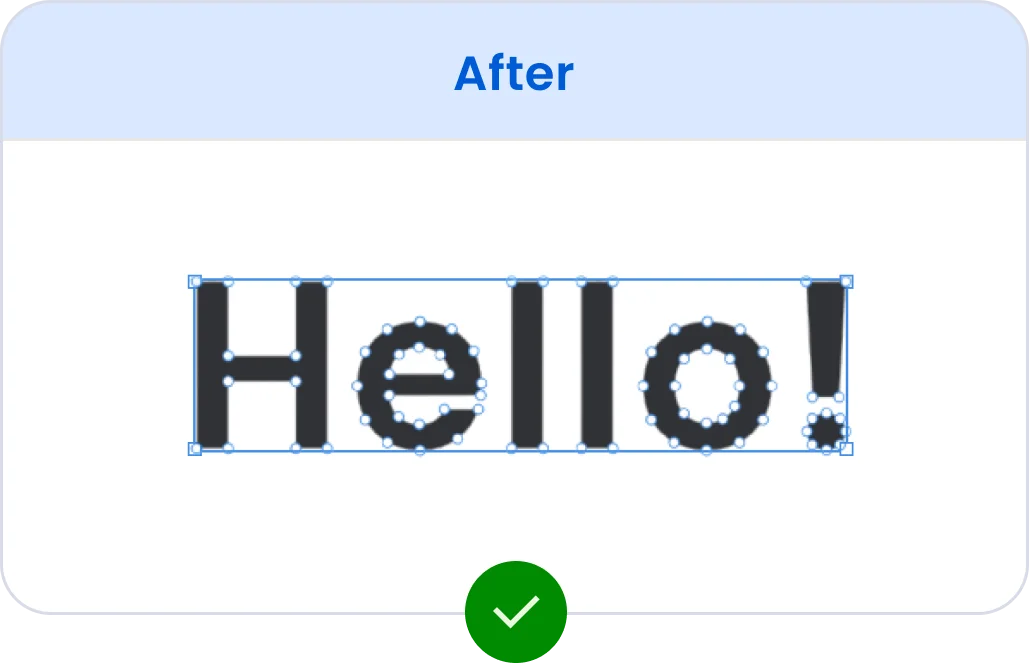
When working in Illustrator or other graphic design programs, it is important to convert your text to outlines before submitting your file. This ensures that your font will not be substituted, allowing us to preserve your artwork exactly as you intended.

To convert your text to outlines, navigate to the top menu in Illustrator. Click on Type and select Create Outlines. Alternatively, you can select the artwork and press Ctrl + Shift + O. After that, save the file and send it to us.

Before example showing editable Hello text before converting to outlines.After example showing Hello text converted to outlines.

Raster vs Vector

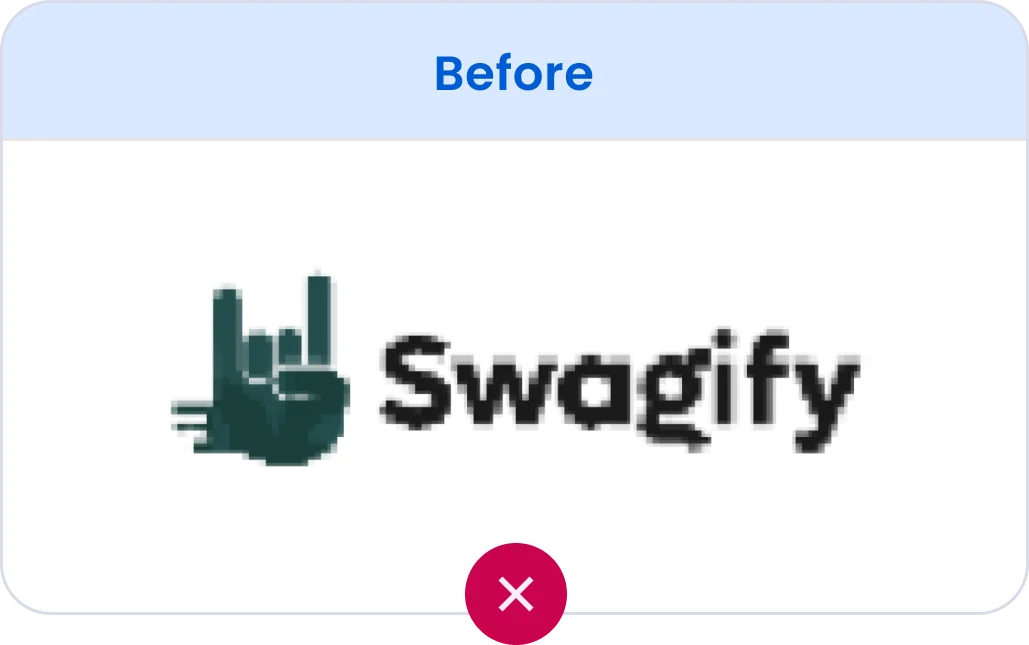
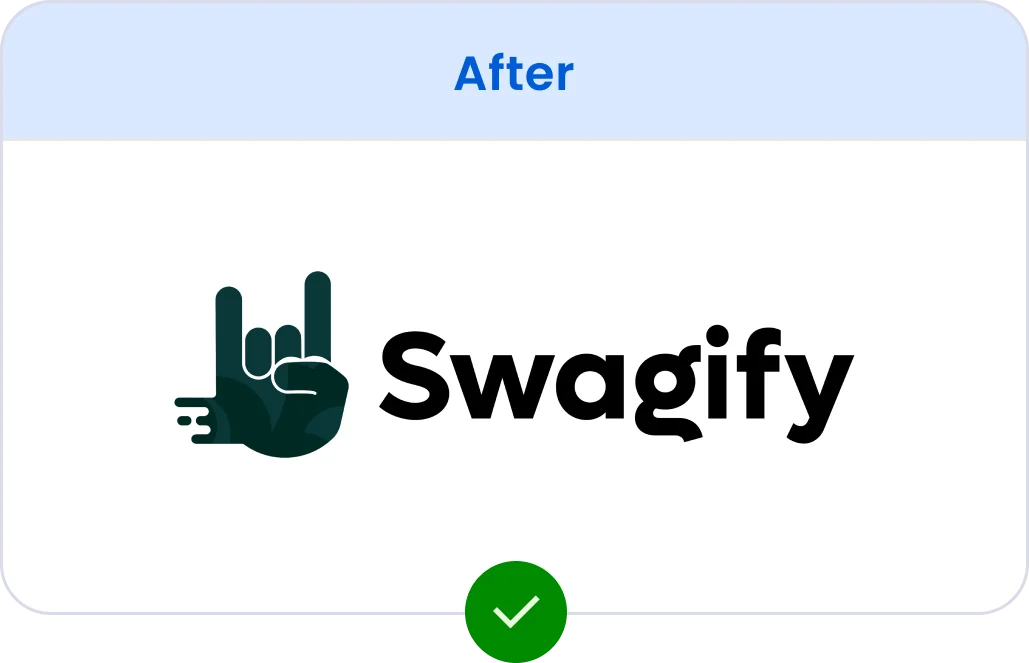
Raster files are made up of pixels and are commonly called bitmaps.

Vector files use coordinates to create shapes with points and lines. This file type maintains high image quality at any size.

Before example showing a raster Swagify logo.After example showing a clean vector Swagify logo.

Full Color Artwork

Web image artwork icon representing low-resolution online images.

Web Images

Images downloaded from websites are generally at a resolution of 72 DPI, which is not suitable for printing. Moreover, using web images may pose copyright issues, so we advise against their use in your artwork. The only exception is if the image has been acquired from a stock photo website with a high resolution.

Resolution artwork icon showing 300 DPI guidance.

Resolution

Your file must be at least 300 DPI or created as vector art. Simply increasing the resolution of an image that is below 300 DPI will result in a blurry, pixelated appearance. For optimal quality, full-color artwork should be at least 300 DPI at the size it will be printed.

Bleed artwork icon showing edge extension guidance.

Bleed

The bleed area extends along the edges of your document. To avoid any white borders appearing, ensure that your background image or color extends all the way to the edge and slightly beyond it.

Talk to a Real Human(855) 445-8438
Free Standard DeliveryRush Shipping Available.
Satisfaction GuaranteedHassle-Free Returns
Secure CheckoutSafe & Encrypted Payments