Introduction
In the world of DIY, precision isn’t optional—it’s essential. Whether you’re crafting handmade furniture, sewing home décor, installing shelves, or tackling weekend repairs, every great project starts with a tape measure. One inaccurate measurement can lead to misaligned pieces, wasted material, or a finished product that just doesn’t function properly.
Unfortunately, many DIYers rely on old or low-quality tape measures, often with faded markings or broken locks. Others forget to account for allowances or measure in tricky spaces without the right tools. These common mistakes slow progress and add cost to projects.
In this article, we’ll dive into the best measurement hacks for DIY users, including practical tips on how to maximize the value of custom tape measures—which not only boost accuracy but also help creators, small businesses, and pros build brand visibility.
1. Essential Features of a High-Quality Custom Tape Measure
Not all tape measures are created equal. If you’re serious about DIY projects, here are the features that truly matter:
- Dual Measurement Units (inches and centimeters): Great for international patterns and universal usability.
- Sturdy Locking Mechanism: Keeps your measurement in place while you mark, cut, or drill.
- Durable Blade Material: Look for steel or reinforced fiberglass for flexibility and strength
- Magnetic Tip Hooks: Perfect for metal surfaces, allowing for one-handed measuring.
- Custom Branding: A logo or company name printed on your tape adds professionalism and reduces the risk of loss.
If you’re a craft seller or independent contractor, custom tape measures offer a branding opportunity while giving your clients or staff practical, daily-use tools.
2. Measurement Hacks for Different DIY Categories
For Sewing and Fabric Projects
- Include Seam Allowances: Always add at least 0.5 inches (1.25 cm) to every fabric edge before cutting.
- Measure on a Flat Surface: Iron your fabric beforehand to remove wrinkles and get accurate measurements.
- Use Fabric Markers: Chalk or disappearing ink pens help ensure your lines are clean and precise.
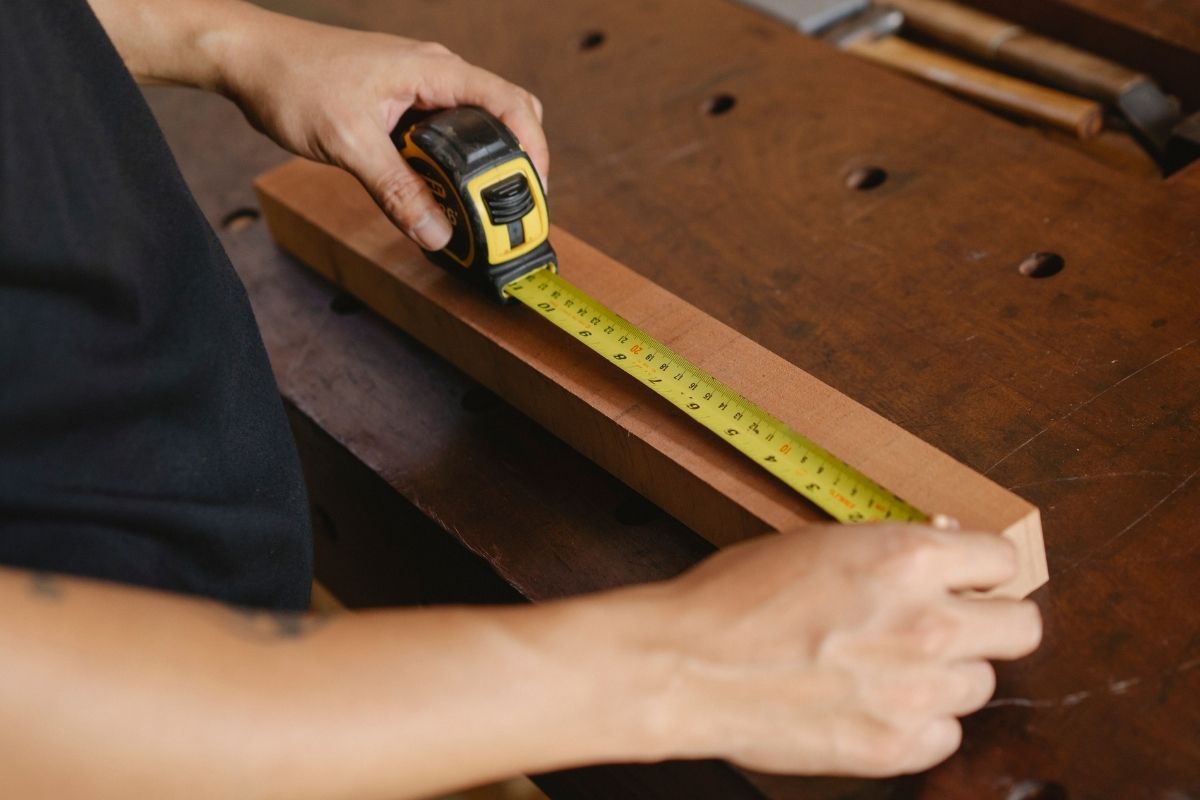
For Woodworking and Construction
- Use the Hook Properly: Tape measure hooks are slightly loose on purpose to allow for inside and outside measurements. Trust this design.
- Mark with a Knife for Precision Cuts: For extra-precise measurements in carpentry, a marking knife offers better accuracy than a pencil.
- Account for Blade Thickness: Don’t forget that saw blades remove material. Add or subtract the kerf from your measurement as needed.
For Home Improvements
- Always Measure Twice: Double-check dimensions, especially for installations like curtain rods, shelves, and wall art.
- Keep a Short and Long Tape on Hand: Pocket-size tape for quick checks and a 25-foot tape for larger tasks.
Using a customized tape measure with your name or brand also helps you stand out during local gigs or group classes and prevents tool mix-ups.
3. The “Measure Twice, Cut Once” Method—Why It’s More Than Just a Phrase
| Tip | Description | Best Tool(s) |
|---|---|---|
| Use a Sharp Pencil or Marker | Ensure lines are thin and visible without smudging | Fine-tip pencil, fabric marker, chalk |
| Measure Twice, Cut Once | Double-check all measurements before cutting to avoid costly mistakes | Custom tape measure, steel ruler |
| Use a Straightedge or Ruler | For perfectly straight lines when marking long cuts | Metal ruler, T-square, carpenter’s square |
| Mark on the Reverse Side | Prevent visible lines on the finished surface | Tailoring chalk, erasable pen |
| Clamp or Secure the Material | Prevent shifting while marking or cutting | Clamps, cutting mats, weights |
| Follow the Grain or Pattern | When working with fabric or wood, follow the natural lines for clean cuts | Fabric scissors, craft knife |
| Use the Right Cutting Tool | Match the tool to the material for precision and safety | Utility knife, rotary cutter, fabric shears |
| Keep Tools Sharp | Dull tools lead to jagged, uneven cuts | Regular blade maintenance or replacement |
| Score Before Cutting | Lightly score the surface to guide deeper cuts | Utility knife, scoring tool |
| Work on a Stable Surface | A flat, non-slip surface ensures better control and accuracy | Cutting table, self-healing mat |
This classic principle remains the most important habit for DIYers. Rushing through measurements often leads to materials being cut too short, drilled in the wrong spot, or stitched unevenly.
Follow a consistent checklist:
- Confirm all measurement units are consistent.
- Double-check allowance for seams, mounting, or clearance.
- Mark and label each material segment before cutting.
If you’re working on multiple identical pieces, measure one, mark it as your master, and use it as a template for the rest.
For efficiency and clarity, keep a custom-printed measuring cheat sheet nearby—or better yet, print it directly on your tape measure’s case if you’re ordering custom tools for resale or team use.
4. Tips for Marking and Cutting Accurately
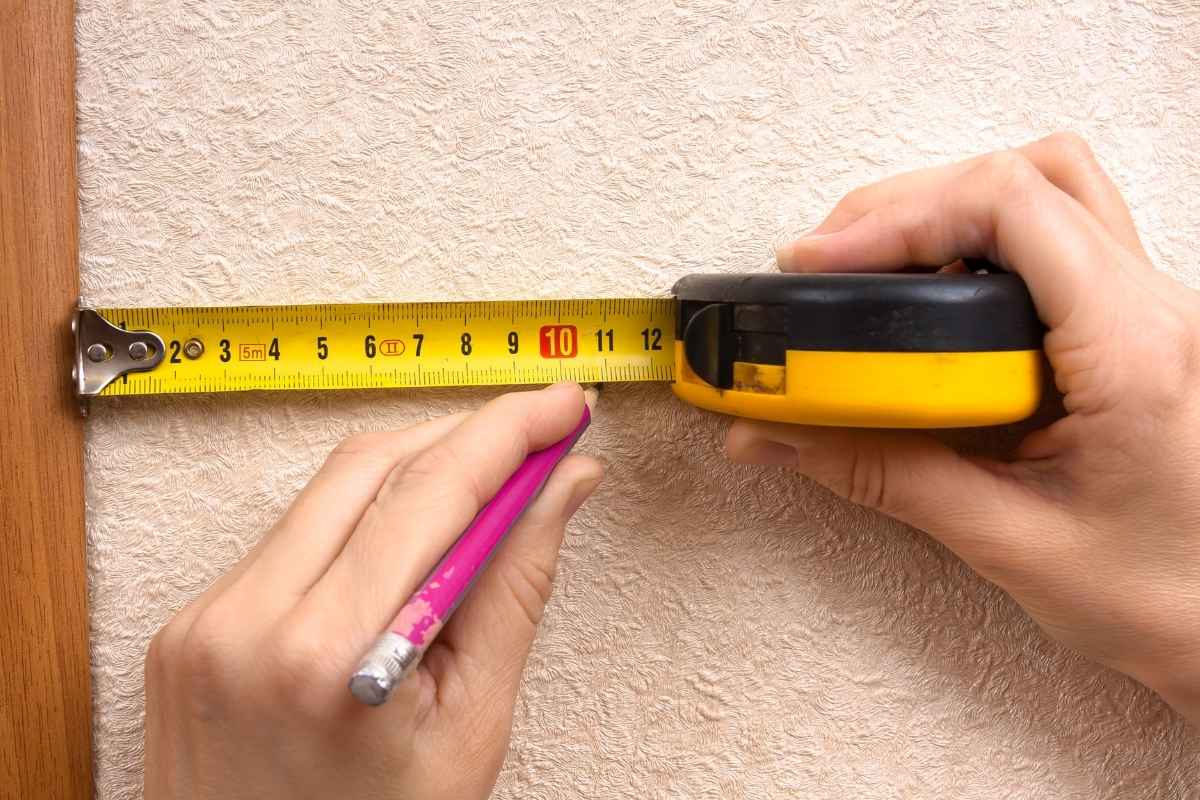
Accurate marking is just as critical as correct measuring. Use these pro techniques to ensure clean, precise lines:
- Use painter’s tape to mark on wood without damaging the surface.
- Always hold your tape measure straight and level—crooked measurements throw off entire designs.
- On curved surfaces, stabilize the tape at three points to maintain shape.
- Invest in a metal ruler for straight-line guidance when using rotary cutters or saws.
Custom tape measures with high-contrast, anti-glare blades make readings clearer, even in low-light or dusty conditions.
5. Solving Common Measurement Challenges in Awkward Spaces
| Challenge | Problem Description | Solution |
|---|---|---|
| Measuring Around Corners | Tape bends or loses accuracy when wrapping around walls or objects | Use a flexible tape measure or mark and measure in sections |
| Overhead or High Areas | Difficult to reach or hold the tape in place | Use tape with a strong lock and magnetic tip, or attach to a flat object |
| Measuring Tight Spaces | Hands or tape won’t fit easily into narrow gaps | Use a slim, flexible pocket tape measure or laser distance measurer |
| Working Solo Without Help | One end of the tape slips or moves while measuring alone | Use self-locking tape or clip one end securely with tape or magnet |
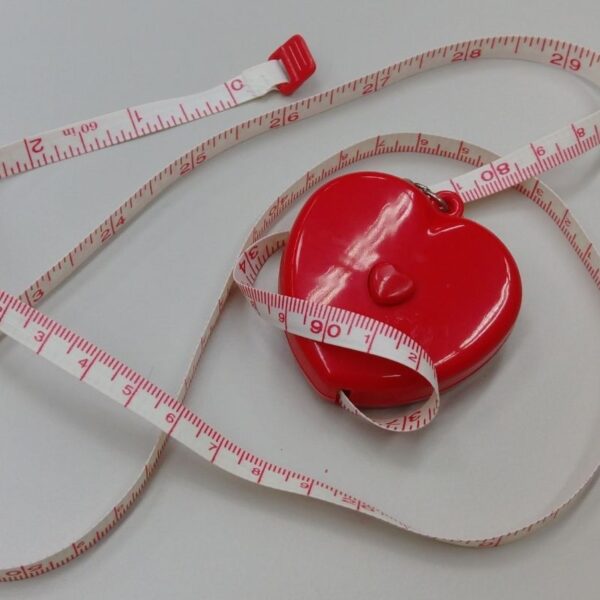
| Curved or Uneven Surfaces | Hard to get an accurate flat measurement on curves | Use a cloth or tailor’s tape for flexible accuracy |
| Dark or Poorly Lit Areas | Inaccurate reading due to lack of visibility | Use a tape with a backlit display or reflective markings |
| Measuring Large Distances | Tape droops or bends over long stretches | Use a rigid tape, laser tape, or support it midway for accuracy |
| Reading Small Markings Clearly | Fine increments are hard to see in certain light or angles | Use a tape with bold, high-contrast markings or digital readout |
| Awkward Body Positions | Hard to measure while bending, kneeling, or stretching | Choose ergonomic tapes with easy-lock buttons and grippy casing |
| Maintaining Accuracy Over Time | Tape stretches or becomes misaligned with wear | Regularly inspect and replace old or damaged tape measures |
DIY projects don’t always happen on a flat, open surface. Often, you need to measure around tight corners, vertical walls, or oddly shaped objects.
Here’s how to simplify those tricky measurements:
- Use the case itself as a measuring aid—many tape cases are 3 inches wide. Measure to the case and add that number.
- In closets or cupboards, hook one end to the wall and extend outward, locking the tape to read easily.
- Magnetic tips let you stick the blade in place for overhead measurements or inside boxes.
Need to keep your measurements secret? Some custom tapes allow engraving inch/cm conversion charts, standard sizing guides, or user-specific scales for easy reference.
6. Why Custom Tape Measures Are the Smart Tool for DIY Businesses

Custom tape measures are not only accurate and functional—they’re also effective marketing tools. Whether you’re teaching a workshop, running a carpentry brand, or selling handmade goods, giving away or using personalized measuring tools leaves a lasting impression.
Business Benefits of Custom Tape Measures:
- Brand Visibility: Every measurement is a branding moment.
- Professionalism: Clients notice when you use custom-branded gear.
- Team Identity: Great for unifying staff tools and preventing mix-ups.
- Promotional Products: Popular giveaways at trade shows, maker fairs, or client onboarding kits.
Custom options can include:
- Your logo
- Measurement cheat sheets
- Specialty scales for tailoring, crafting, or woodworking
- Case colors that match your brand identity
7. Maintenance Tips: Keep Your Tape Measure in Top Shape
| Maintenance Tip | Description |
|---|---|
| Retract Slowly and Smoothly | Prevents the blade from snapping back, which can damage the internal spring or casing. |
| Clean After Use | Wipe down the tape with a dry or slightly damp cloth to remove dirt, dust, and debris. |
| Avoid Bending or Kinking | Keep the blade straight to maintain accuracy and avoid permanent creases. |
| Store in a Dry Place | Moisture can cause rust or damage the blade markings; use a toolbox or pouch. |
| Lubricate the Mechanism | Occasionally apply light machine oil to the retraction mechanism for smooth operation. |
| Check for Rust or Wear | Regularly inspect the blade and housing for signs of corrosion or cracks. |
| Lock Before Measuring | Use the lock feature to keep the blade stable while taking measurements. |
| Avoid Dropping It | Impacts can damage internal components or affect measurement accuracy. |
| Do Not Use as a Level or Pry Tool | Only use the tape for measuring—misuse can lead to warping or breakage. |
| Recalibrate if Needed | If used for precision tasks, check accuracy against a known standard occasionally. |
Your tape measure is one of the most frequently used tools in any DIYer’s kit—and over time, dust, grime, or poor handling can reduce its accuracy and usability. Whether you’re using a branded custom tape measure for your business or your personal projects, proper maintenance ensures long-term performance, precision, and a professional appearance.
Here are the top maintenance tips every user should follow:
1. Retract the Blade Slowly and Smoothly
Allowing the tape to snap back quickly into the case may seem efficient, but it puts unnecessary strain on the internal spring and blade. Over time, this can cause the tape to break or the spring mechanism to wear out prematurely.
Tip: Always guide the tape back in using your hand to avoid sudden impact and protect the case from internal damage.
2. Wipe Down the Blade After Every Use
Dust, paint, sawdust, or even fabric fibers can stick to the blade during measurements. If not cleaned, these particles can:
- Cause the tape to jam
- Reduce blade visibility
- Scratch the internal components
Cleaning Hack: Use a soft, lint-free cloth slightly dampened with water or isopropyl alcohol to wipe the blade. Avoid harsh cleaners that could erode printed markings.
3. Keep It Dry to Prevent Rust
Tape blades—especially steel ones—are prone to rust when exposed to moisture. Even a few drops of water can lead to corrosion, affecting accuracy and shortening the life of your tape.
Tip: If your tape measure gets wet, dry it thoroughly with a cloth before retracting it. Store it in a dry location away from humidity.
4. Store Properly When Not in Use
Avoid tossing your tape into toolboxes where it can get buried under heavier tools or damaged by sharp objects.
Best Practice:
- Hang it on a pegboard using the clip
- Store it upright in a designated drawer or case
- Avoid leaving it in direct sunlight or near heat sources, which can warp plastic cases
5. Inspect the Hook Regularly
The metal hook at the end of the tape is designed to move slightly to accommodate internal and external measurements. However, if it becomes bent, loose, or stiff, your readings will be inaccurate.
Fix: Tighten loose rivets or replace the tape if the hook no longer moves properly. With custom tape measures, you may also be able to request replacements from your supplier.
6. Avoid Measuring Sharp or Abrasive Materials
While it might seem harmless to measure concrete edges, jagged metal, or rough surfaces, repeated friction can cause:
- Blade nicks and chips
- Faded or unreadable markings
- Reduced blade longevity
Pro Tip: Use a piece of painter’s tape over the edge before measuring, or opt for a heavy-duty tape measure with reinforced edges.
7. Replace Worn Tape Measures Promptly
If you notice your tape measure:
- Doesn’t lock correctly
- Has faded or missing numbers
- Doesn’t retract fully
- Has a loose or damaged case
It’s time to retire it. Worn tape measures lead to bad measurements, which can ruin your work. Fortunately, custom tape measures are affordable and easy to reorder in bulk for teams or toolkits.
Conclusion: Measure Smarter, Work Sharper
A good measurement sets the tone for the entire project. Whether you’re a casual weekend DIYer or a professional maker, having the right tape measure and knowing how to use it is essential for accuracy, consistency, and confidence.
Custom tape measures not only provide superior functionality, but they also help you present your brand, grow your business, and stand out from the competition.
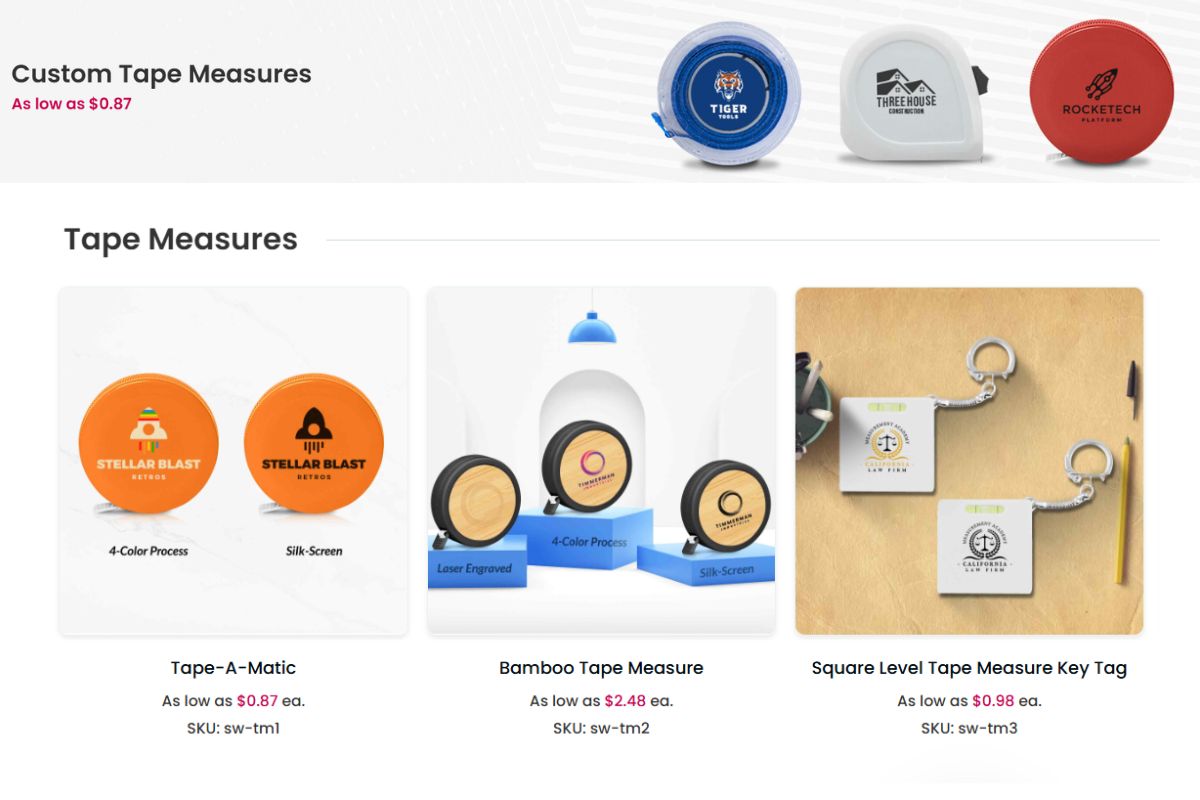
Explore Our Custom Tape Measure Collection
Looking to upgrade your toolbox or give your brand a functional promotional item?
Browse our premium custom tape measures—built for creators, makers, and professionals who measure success one inch at a time.