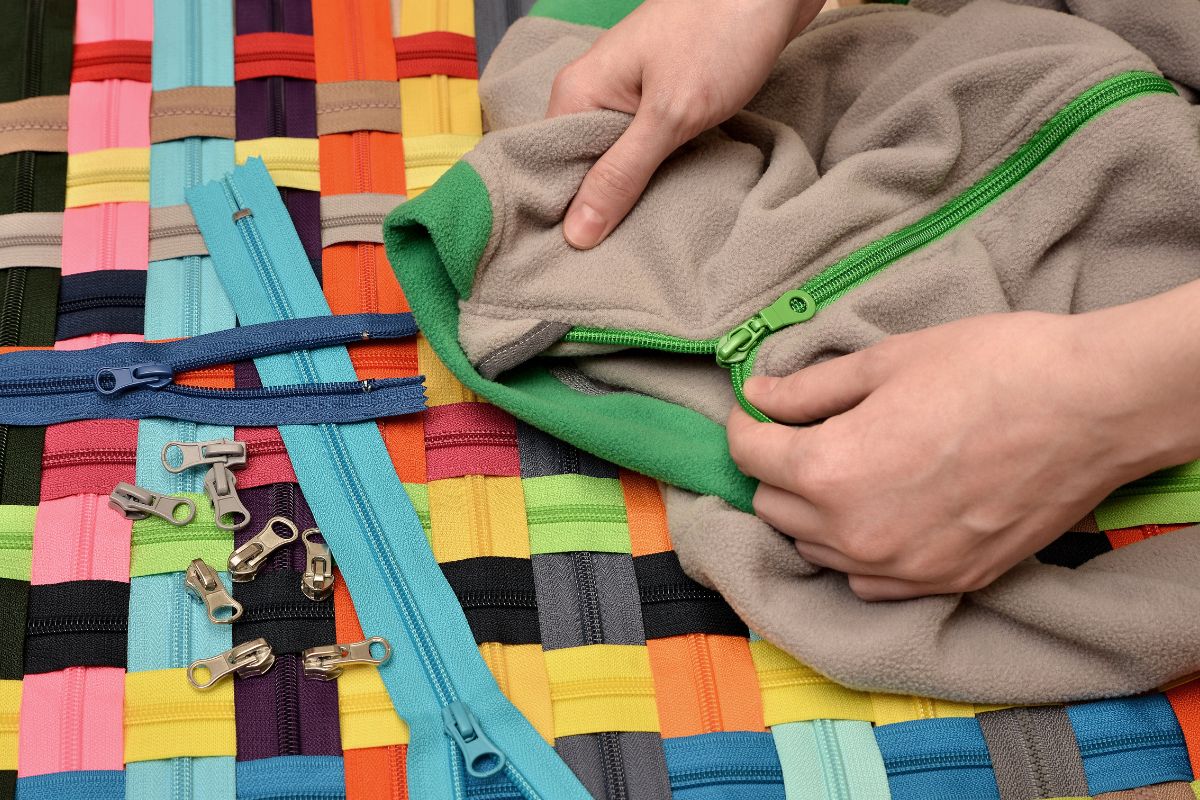
Zippers are an essential component of many garments and accessories, but they can also be a common point of frustration. Facing a zipper that’s stuck, jammed, or separated can be an inconvenience, but before you consider throwing out your favorite jacket or backpack, it’s worthwhile to attempt a fix. With a basic understanding of zipper mechanics and a few household tools, you can often repair a broken zipper yourself.
When a zipper fails, it is usually due to issues like a misalignment of teeth, a stuck slider, or damage to the zipper’s components. Simple solutions such as graphite pencil lubrication or soap as a lubricant can often address a zipper that doesn’t glide smoothly. For zippers that have separated from their tracks, re-aligning the teeth and reinserting the slider can sometimes adequately restore function. There are products available, such as zipper repair kits, that provide the tools and replacement parts necessary for some common zipper repairs.
Understanding the structure of your zipper is key to identifying the problem and applying the correct fix. A basic zipper consists of two sets of interlocking teeth, a slider that moves up and down to connect or separate the teeth, and stops at both the top and bottom to prevent the slider from coming off. Familiarizing yourself with these parts will make troubleshooting zipper issues easier and increase your chances of a successful repair.
Understanding Zipper Mechanics
When dealing with zipper repair, it’s essential to first comprehend the basic parts that constitute a zipper and the common issues you might encounter. This knowledge is the foundation for effectively troubleshooting and mending zipper problems.
Components of a Zipper
A zipper consists of several critical parts:
- Teeth: The individual protrusions on either side of the fabric tape that mesh together when the zipper is closed.
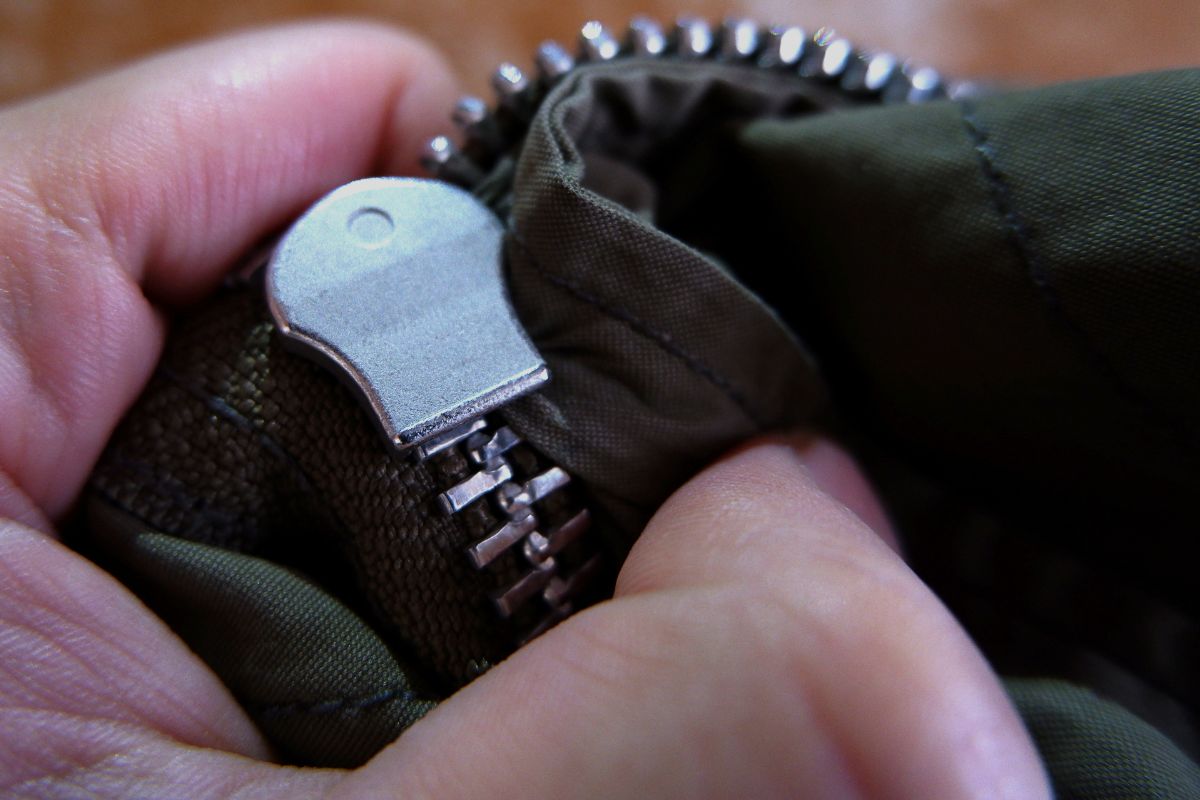
- Slider: The component you move up and down the chain to open or close the zipper. It works by bringing together or separating the teeth.
- Pull: The tab or ring attached to the slider that allows you to operate it easily.
- Stops:
- Top stops are metal or plastic pieces crimped on the top end of the zipper teeth to stop the slider from coming off.
- Bottom stop is the single part at the bottom doing the same job for the lower end.
Understanding these pieces helps you to pinpoint where a failure can occur, which is the first step in zipper repair.
Common Zipper Issues
Your zipper may encounter several typical problems:
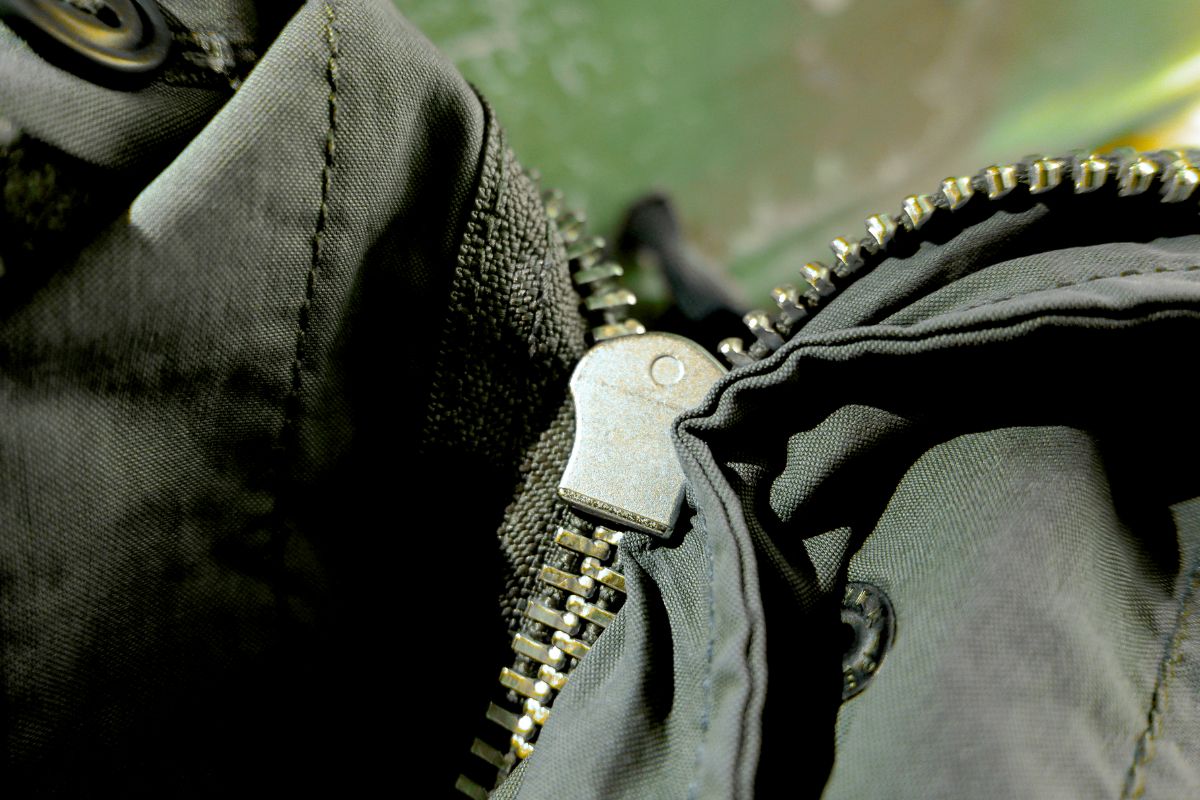
- Misaligning Teeth: If the teeth are not interlocking properly, the zipper may not close or could open unexpectedly.
- Slider Issues: The slider could become stuck or may slide without closing the teeth, often due to a misshapen or worn slider.
- Stop Breakage: If the top or bottom stops are damaged, the slider can come off completely.
These issues often have straightforward fixes, such as realigning the teeth, replacing the slider, or attaching new zipper stops. With careful inspection and the right approach, you can resolve most zipper malfunctions with ease.
Preliminary Steps Before Fixing
Before attempting to repair a broken zipper, it’s crucial to examine the issue thoroughly and ensure you have all the necessary materials at hand. Taking these preliminary steps can save you time and help ensure a smooth repair process.
Assessing the Damage
First, closely inspect the zipper to determine the nature of the problem. Is the slider stuck, or are the teeth misaligned? Ensure the zipper’s fabric isn’t caught in the slider. If your zipper is stuck, avoid tugging on it forcefully; instead, check for obstructions like fabric or loose threads that might be jamming the mechanism.
Gathering Necessary Supplies
Next, assemble all the tools and items you will need to fix your zipper:
- Pliers: To remove any stops or to adjust the slider.
- Screwdriver: Useful if a prong from a zipper stop needs to be adjusted.
- Needle: A sewing needle or a pin can help realign zipper teeth.
- Graphite pencil: You can use this to lubricate the teeth if the zipper is stuck.
- Additional supplies: Depending on the issue, you might need sewing thread, scissors, or lubricant (such as petroleum jelly).
Here’s a checklist of supplies to gather:
| Supply | Purpose |
| Pliers | For removing stops, or adjusting the slider on the zipper teeth. |
| Screwdriver | To adjust or remove zipper stops, if necessary. |
| Needle | To realign zipper teeth or to remove caught fabric. |
| Graphite pencil | To lubricate the zipper teeth for smooth movement. |
| Lubricant | Petroleum jelly or similar lubricants can also help a slider move more freely. |
| Sewing supplies | Thread, scissors, and a seam ripper may be needed if there’s a need to re-sew the zipper. |
Ensure you have these supplies on hand before you begin the actual repair. Having the right tools will make it easier to address most problems you might encounter with a broken zipper.
Repairing a Jammed or Stuck Zipper
When facing a jammed zipper, your goal is to release it without causing damage. Your approach should include careful application of lubricants and gentle maneuvering to free the snag.
Using Lubricants to Ease the Zipper
To facilitate smooth movement, certain household items can act as effective lubricants for a stuck zipper. Applying a small amount of graphite from a pencil by rubbing the pencil tip on the zipper’s teeth can help. Similarly, a thin layer of petroleum jelly or candle wax applied with a cotton swab can provide the necessary slip to get the zipper moving. Use the following steps with your chosen lubricant:
- Identify the area where the zipper is stuck.
- Apply a small amount of the lubricant onto both sides of the zipper teeth.
- Gently work the zipper back and forth to distribute the lubricant evenly.
Maneuvering a Zipper Past Snags
If the zipper is caught on fabric or has become misaligned:
- Hold the fabric taut near the jam.
- Gently wiggle the zipper to see if it will move without force.
- If it does not budge, pull the fabric with one hand while working the zipper slider with the other.
Always avoid excessive force, as it can lead to further damage. It’s better to work slowly and patiently, coaxing the zipper along rather than rushing the process.
Replacing or Fixing a Slider

When a zipper fails, it often comes down to a faulty slider. You can either attach a new zipper pull or replace the slider entirely to restore functionality.
Attaching a New Zipper Pull
If your zipper pull has come off, you can temporarily use a paper clip as a replacement. Simply thread the paper clip through the hole in the slider where the pull originally was. This is a quick fix that allows you to operate the zipper until you can secure a proper replacement pull.
For a more permanent fix, you can purchase a new zipper pull from a craft or fabric store. To attach it:
- Open the new zipper pull.
- Slide the open end into the slider where the old pull was attached.
- Close the new pull securely, using pliers if necessary to pinch it tight.
Replacing the Zipper Slider
When replacing the zipper slider, you need to first select the right size and type of slider that matches the existing zipper. Sliders are categorized by size and type, such as metal or plastic, teeth or coil.
Here’s a concise process to replace your zipper slider:
- Remove the existing slider. Use pliers to gently pry off the stop at the end of the zipper tape. Slide the old slider off.
- Take the new slider and orient it correctly above the zipper teeth.
- Carefully thread the zipper teeth into the new slider; ensure the teeth are aligned straight to avoid future snagging.
- Slide the new slider down to the bottom of the zipper teeth to check if it’s functioning correctly.
- Once confirmed, replace the stop at the end of the zipper tape. This can often be the original stop, squeezed back into place, using pliers.
By carefully following these steps, you should be able to address the most common problems with zipper sliders and pulls yourself, avoiding the need for professional zipper repair services.
Sewing and Replacing Components
When a zipper breaks on a garment, repairing it often involves sewing and replacing key components such as teeth or stops. Using the right thread, needle, and technique is crucial to successfully restoring your zipper’s functionality.
Mending Broken Zipper Teeth
If you notice missing or broken teeth on your zipper, act quickly to prevent further damage. Begin by identifying the extent of the issue:
- For one or two missing teeth: Attempt sewing over the gap with a strong thread, creating a bridge that can hold the zipper together temporarily.
- For several missing teeth: It’s best to replace the entire zipper to ensure long-term use.
Replacing Missing Teeth or Bottom Stop
Replacing missing zipper teeth is a meticulous task and might require a tailor’s expertise. However, replacing a missing bottom stop is more straightforward:
- Remove the old stop with pliers.
- Slide a new stop into place at the base of the zipper.
- Use needle-nose pliers to clamp the new stop securely.
Attaching New Top and Bottom Stops
Top and bottom stops are critical for controlling the zipper’s starting and ending points. To replace these:
- Top Stop:
- Use pliers to remove the old stop.
- Position a new stop above the topmost teeth of the zipper.
- Squeeze the stop closed with pliers.
- Bottom Stop:
- If the bottom stop is missing, remove the stitching around the lower end with a seam ripper.
- Slide a replacement stop into place.
- Secure it by squeezing with pliers.
Always use the correct type of needle and thread that matches the strength required for the garment material. For heavy duty items, a thicker thread is recommended. When in doubt, consult with a professional tailor for zipper repair to ensure durability and functionality.
Professional Repair and Replacement

When you encounter a particularly troublesome zipper issue, consulting a professional or considering a complete replacement might be your best solution.
When to Consult a Tailor
Common Zipper Issues:
- Misalignment: If the zipper teeth are not lining up correctly, preventing smooth operation.
- Sticking: Persistent sticking even after at-home remedies like graphite or soap application have failed.
- Structural Damage: Noticeable damage to the zipper’s fabric or the integration point on the garment.
Tailor’s Expertise: A skilled tailor can assess and fix a broken zipper with precision, often saving a beloved piece of clothing from being discarded.
Cost vs. Value: Investing in a professional repair can extend the life of high-value items, such as designer jackets or formal dresses.
Replacing the Entire Zipper
Assessment: Check if the slider or zipper tape is damaged beyond repair. This may require a new zipper if fixative measures are inadequate.
Size and Type Matching: Ensure the replacement zipper matches the original in size, type, and color for a seamless repair.
| Zipper Component | Considerations for Replacement |
| Slider | Size, type (metal, plastic), locking mechanism |
| Teeth | Material (metal, plastic, coil), size, color |
| Tape | Fabric color, strength, stitching compatibility |
Process:
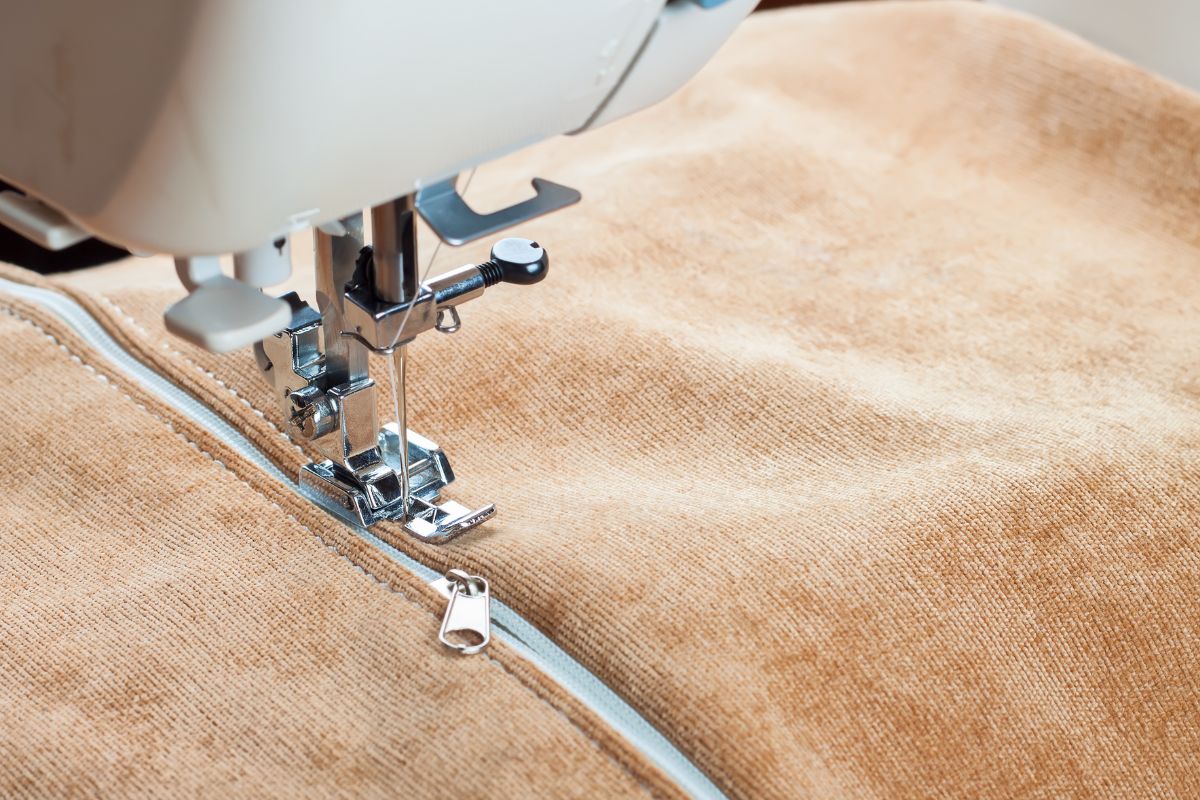
- Removal: Carefully remove the stitching holding the old zipper in place, taking care not to damage the garment fabric.
- Attachment: Securely sew the new zipper into place, mimicking the original stitching pattern for consistency and durability.
Remember to seek a reputable tailor with experience in zipper repairs to ensure quality results.
Maintaining Zipper Health

Ensuring the longevity and functionality of your zippers involves regular upkeep and preemptive steps to avoid common issues. By investing a little time in maintenance, you can prevent wear and tear and keep zippers moving smoothly.
Regular Cleaning and Care
Lubrication: To maintain smooth zipper operation, periodically apply a lubricant such as:
- Paraffin wax
- Graphite pencil
- Silicone spray
- Clear lip balm
Cleaning: Follow these steps to clean your zippers:
- Prepare a solution of mild laundry detergent and warm water.
- Gently brush along the zipper’s teeth with a soft cloth or an old toothbrush dipped in the solution.
- Rinse with clean water and dry completely before use.
Preventative Measures
Zipper Use: Handle zippers with care:
- Ensure the zipper teeth align before pulling.
- Avoid yanking the slider if resistance is felt.
Storage: Prevent damage during storage:
- Close zippers before washing to protect the teeth and slider.
- Air-dry garments with zippers to prevent rust or corrosion.
By following these guidelines, you can significantly reduce the chances of zipper malfunction and extend the lifespan of your zippered items.
Troubleshooting Other Zipper Malfunctions

In addressing zipper malfunctions, precision is key. Identifying the specific issue allows for a more effective remedy, whether it’s a separated zipper or end gaps.
Fixing a Separated Zipper
When faced with a separated zipper, the first thing to check is if any teeth are bent or missing. If bent teeth are the problem, gently realign them using a pair of pliers. Should the zipper refuse to close or keeps popping open, examine the slider. Over time, the slider may wear out and lose its grip on the teeth, causing separation. Using pliers, gently pinch the slider back into shape for a tighter fit on the zipper teeth.
Dealing With Zipper End Gaps
For zipper end gaps, a common issue is the missing end stop or the fabric not being fully enclosed by the stopper. You’ll need a flathead screwdriver to pry off the metal stop at the bottom. Once removed, you can realign the zipper’s teeth with the slider, ensuring the start is even. After correcting the alignment, replace the metal stop or create a new stop using a small sewing kit and some sturdy thread to sew a new stop in place.
Helpful Tips and Tricks

In this section, you’ll discover straightforward solutions for zipper issues using household products and learn essential zipper maintenance practices.
Quick Fixes Using Household Items
Your home offers simple, effective remedies for a malfunctioning zipper. A graphite pencil can be your first go-to solution. Simply rub the pencil tip on the zipper’s teeth to provide lubrication and help the slider glide smoothly. For a stuck zipper, a small amount of Vaseline or WD-40 can work wonders—just apply a tiny bit with a cotton swab. In case your zipper persistently slides down, secure it with a key ring attached to the pull tab, which you can loop over your button.
Zipper Maintenance Advice
Keeping your zipper in good shape prevents future issues. Apply clear nail polish or nail polish to the body of the zipper to help secure loose teeth and ensure smoother movement. Regularly inspect and remove fabric or threads caught in the teeth with tweezers. Store garments with zippers closed to maintain alignment and avoid warping. Remember that prevention is key—treat your zippers with care to extend their functionality.
Frequently Asked Questions
Repairing a zipper might seem daunting, but with the right techniques, it’s a task you can often handle on your own. Here we address some common issues you might encounter and provide clear steps for fixes that you can usually perform without professional help.
How can I reattach a zipper that has come off one side?
To reattach a zipper slider that’s come off one side, first slide it back onto the zipper teeth from the bottom. If there’s a stopper, you’ll need to remove it with pliers, slide the slider on, then replace or create a new stopper using a small stitching or a metal crimp.
What steps are involved in repairing a zipper on a pair of jeans?
Repairing a zipper on jeans typically involves addressing the issue with the slider. If it’s loose, use pliers to slightly pinch it for a tighter grip on the teeth. If the slider is broken, you’ll need to remove it by taking off the metal stop at the bottom, then sliding a new slider in place.
What is the process for fixing a zipper on a bag?
To fix a zipper on a bag, start by examining the teeth. If they’re not damaged, it’s likely a slider issue. Remove the old slider by detaching the top stops, slide on a new slider of the same size, and replace the stops to secure it in place.
How do I repair a zipper on a jacket that has stopped working?
If a zipper on a jacket stops working, ensure no fabric is caught in it. Then, you can try lubricating the zipper teeth with graphite or laundry soap to get it moving. If the slider is the problem, removing it and replacing it with a new one, making sure it’s the correct size for your zipper, will usually do the trick.
Can I fix a zipper on a backpack by myself, and if so, how?
Yes, you can fix a zipper on a backpack by yourself. Start by checking the slider and teeth for damage. You can realign the teeth with pliers if they’re misaligned. If the slider is damaged, you will need to replace the slider following similar steps used for a bag or jacket.
Is there a way to fix a zipper that has separated without replacing the whole thing?
Yes, often a zipper can be fixed without replacing it entirely. If it has separated, try sliding the zipper all the way down, realign the teeth if they’re misaligned, and then gently slide the zipper up, ensuring both sides are even as they enter the slider. If this doesn’t work, the slider might need to be replaced.