When placing designs on a shirt, precision is key. The location of your design can significantly affect the overall look and appeal of the garment. For most standard placements, such as a left chest design on a button-down or polo shirt, measuring from the top shoulder seam 7-9 inches down positions the design optimally. Eyeing an imaginary line between the middle and side seam provides a centered look, and for larger shirts, 4 inches from the center front is a rule of thumb to follow for balance and aesthetics.
In terms of full-front shirt designs, the coverage extends widely in both height and width across the chest down to the length of the shirt. Typically, the dimensions for center-chest prints range between 8-10 inches, which ensures the design is neither overwhelming nor too subtle. For a full-front shirt design, a size of about 10-12 inches in width and 10-14 inches in height is generally advised.
Understanding design placement on shirts begins with recognizing the visual impact and practicality of the positioning. For example, too high or too low can give the impression of a misplaced graphic, while the right placement accentuates the design and complements the shirt’s structure. Factors such as the type of shirt, the size of the design, and intended use—all play crucial roles in determining the prime location for your design.
Understanding T-Shirt Design Placement
Achieving the perfect t-shirt design placement involves understanding the shirt’s structure and selecting the optimal area to print your design for maximum impact.
Anatomy of a T-Shirt
A t-shirt is composed of key elements that define its structure: the collar, shoulders, sleeves, and hem. Proper design placement considers the relationship between these elements and how it affects the visual appeal of the shirt. The area between the left and right seams, from under the arms across the chest, is known as the print area. For a balanced look, your design should typically be centered within this area.
Key Areas for Design Placements
- Standard Front Placement: Your design should be prominently displayed, starting 3-5 inches below the bottom of the collar for an adult shirt. This ensures visibility without interfering with the neckline.
- For a small logo:
- Start between 7-9 inches down from the top shoulder seam.
- Position it off-center, closer to the heart area, or at the center of the left chest, around 4 inches from the side seam.
- For a small logo:
- Full Front or Center Chest:
- Full-Front Print: Opt for a design size of around 10-12 inches wide by 10-14 inches high.
- Center-Chest Print: A smaller design works well with 8-10 inches wide.
By selecting the appropriate placement, your shirt design becomes an integral part of the garment rather than an afterthought. Remember that these measurements and positions are benchmarks that ensure your design is well-proportioned and aesthetically pleasing.
Standard Design Locations

When selecting where to place a design on a shirt, it’s crucial to understand the standard design locations. Each location has specific measurement guidelines to ensure that your design is both aesthetically pleasing and appropriately positioned.
Left Chest Design
For the left chest design, typically used for logos, you should position the design so that it’s 3 to 4 inches downward from the collar and centered between the middle of the shirt and the side seam. Measurements:
- Width: 3–4 inches
- Placement: 3–4 inches from the collar
Center Chest Design
A center chest design is ideal for larger graphics or text. You’ll want to center the design between the left and right seams, placing it 6 to 8 inches down from where the collar meets the shoulder. Measurements:
- Width: 6–10 inches
- Height: 6–8 inches
Full Front Design
Full front designs maximize the available space on a shirt. To achieve this, place your design between 10 to 12 inches wide and 10 to 14 inches tall, typically starting a few inches down from the collar. Measurements:
- Width: 10–12 inches
- Height: 10–14 inches
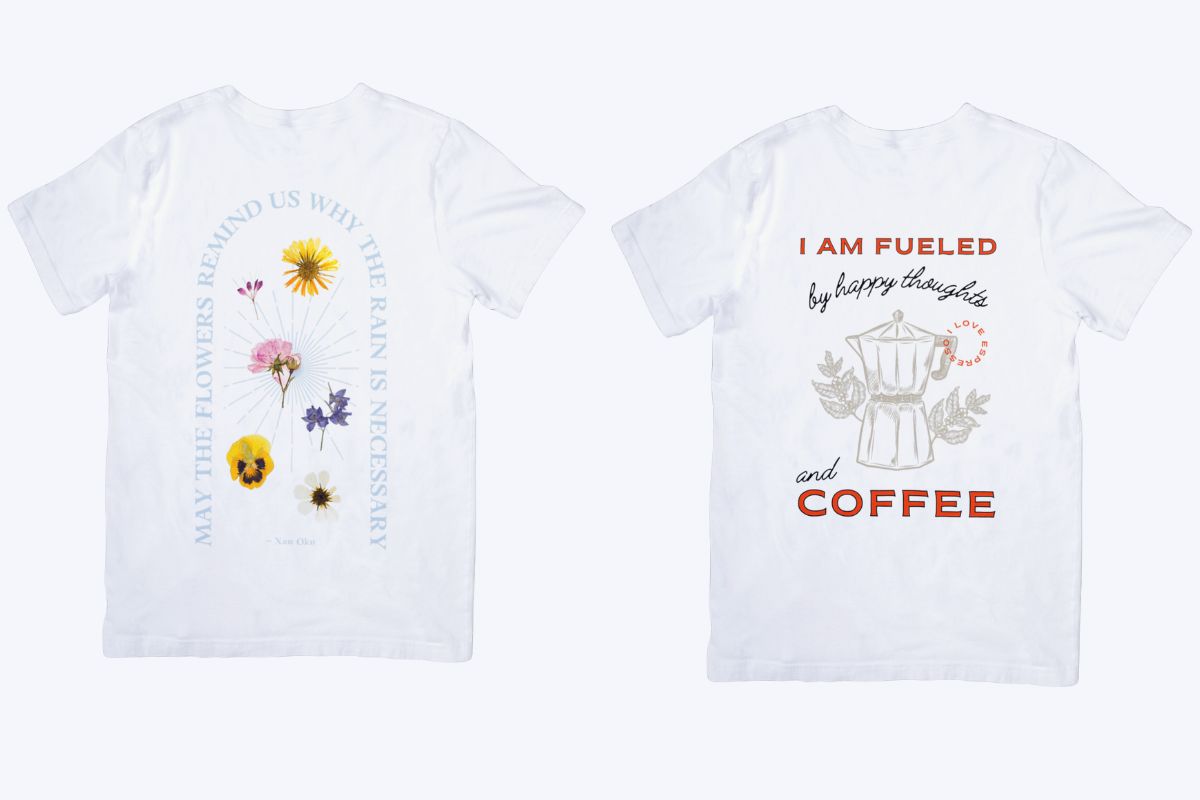
Upper Back and Full Back Design
Upper back designs are generally centered between the shoulder blades, while full back designs cover most of the shirt’s back. For an upper back, the design should be centered 5 to 6 inches down from the collar, and for full back, it can occupy the space below the upper back location to the bottom of the shirt. Measurements:
- Upper Back Width: Similar to the front chest width
- Full Back Width: Can be as wide as the shirt allows
Sleeve Designs
Designs on sleeves are unique and can either wrap around the sleeve or be positioned on the outer surface. It’s important to consider the seam position and maintain a one-inch gap from the sleeve’s hem. Measurements:
- Height from Hem: 1–3 inches
- Wraparound Width: Variable, depending on the sleeve size and design
Use these guidelines to position your designs attractively and appropriately on different parts of the shirt, ensuring optimal visibility and impact.
Design Placement Technique
To ensure your design is accurately positioned on a shirt, key techniques involve precise measurements, understanding the shirt’s structure, and applying decoration materials correctly.
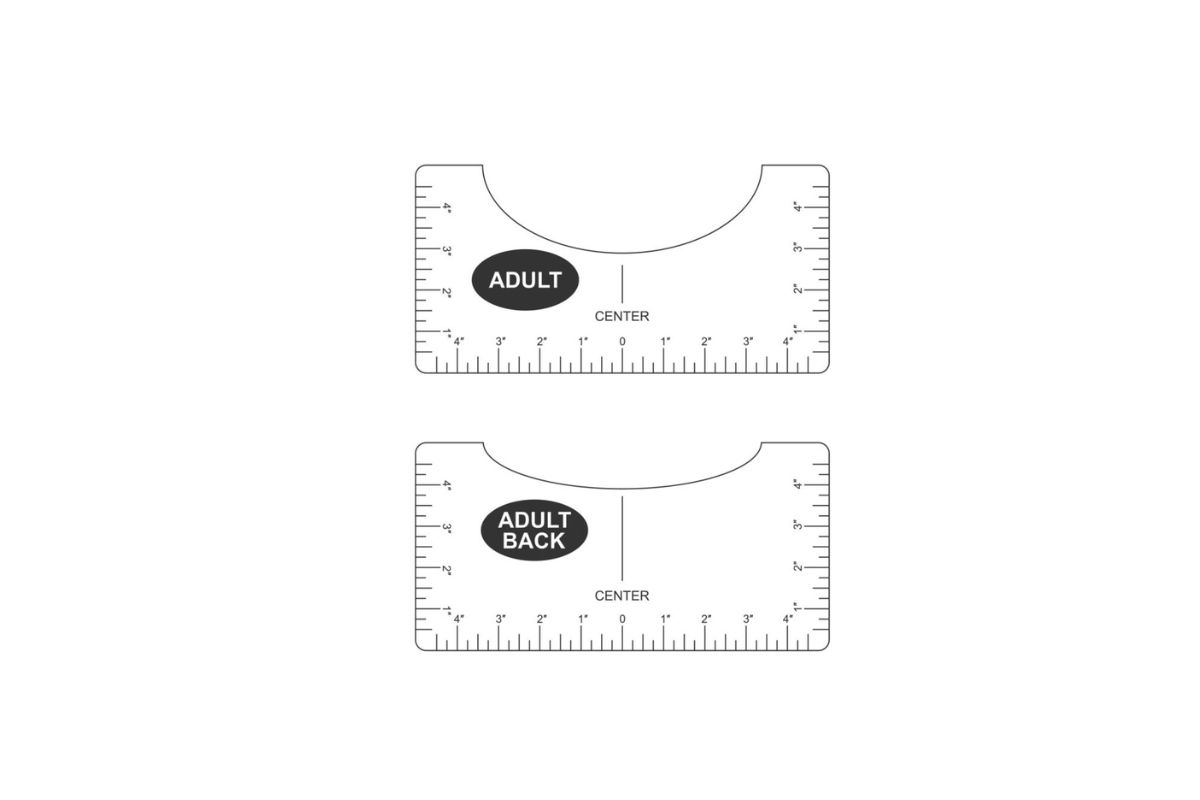
Using a Ruler and T-Shirt Ruler
When placing a design on a shirt, use a ruler for manual measurements or a specialized t-shirt ruler for consistency. Position your ruler horizontally from the top shoulder seam, and measure 7-9 inches down for a left chest design on a standard shirt. If you’re working with a larger shirt, start 4 inches in from the center of the garment. Ensure your artwork is centered between the left seam and the midpoint of the shirt for optimal print placement.
Understanding Anchor Points
An anchor point is a predetermined spot on a garment that you use as a reference for positioning your design. Common anchor points include the top shoulder seam, the armpit seam, and the bottom edge of the shirt. For a centered front or back design, fold the t-shirt at the armpit seam to create a central fold line. Use this as a vertical guide for print location alignment.
Applying Iron-on Vinyl and HTV
For applying iron-on vinyl (HTV), first preheat your fabric to remove wrinkles and moisture, which could affect adherence. Position your design on the shirt using the measurement guidelines you’ve established. Use an iron, heat press, or EasyPress for application, ensuring you apply even heat across the design according to the vinyl manufacturer’s instructions. Remember to upload your design correctly if using a cutting machine, ensuring it’s mirrored if required by the HTV application process.
Variations for Different Apparel Types

When deciding on design placement for apparel, it’s crucial to consider the type of garment to ensure your design is both visible and aesthetically pleasing. The following will guide you on optimal design placement for hoodies and other tops as well as for youth and oversize apparel.
Placement on Hoodies and Other Tops
For hoodies and similar outerwear, the standard print area starts approximately 2 to 4 inches below the neckline for an adult size. This allows the design to remain visible even when the hood is down. Pay special attention to the front pocket of a hoodie; avoid placing designs where they may be obscured or distorted by the pocket.
For polo shirts, aim to place smaller logos on the left or right chest area, typically going 7 to 9 inches from the shoulder seam, and centered between the center and side seam of the shirt.
In the case of button-down shirts, positioning is often similar to polo shirts, with logos placed on the left or right chest. Make sure to start your measurements from the highest point of the shoulder, and align the design towards the center rather than under the arm.
Adapting Designs for Youth and Oversize
When dealing with youth sizes, the design often needs to be scaled down. Start the design placement around 1.5 to 3 inches below the neckline to ensure it sits proportionately on the smaller garment.
For oversized garments, adjustments should be made to the shirt design size. Increase the starting point of your design by approximately half an inch for each size increase from the standard sizing. This incremental change helps maintain the design’s proportional balance on larger shirts.
For all types of apparel, consider the sublimation shirts and custom t-shirt requirements. Design sizes may vary based on the printing technique, so always check the specifics of the garment and printing method before finalizing your placement.
Technical Aspects of Design Placement
Successful shirt design placement hinges on understanding technical details to achieve a professional finish. Let’s explore key concepts that ensure your design not only looks good but also complies with printing standards and material capabilities.
Print Size and Maximum Size Considerations
For a standard size print on the front of a shirt, the typical range is between 11-12 inches in width depending on the shirt size. Oversize designs can stretch up to 14 inches wide. The maximum size for a full front design placement is typically 12 inches wide by 16 inches tall. Back print areas are similar, allowing for large artwork that can cover most of the shirt’s back. When planning prints for sleeve placement, a standard print is usually about 2 inches by 11 inches.
Here are the recommended dimensions for various placements:
- Full Front or Back: 11-14 inches wide
- Left Chest (Logo): Up to 4 inches wide
- Sleeve: 2 inches wide and up to 11 inches long
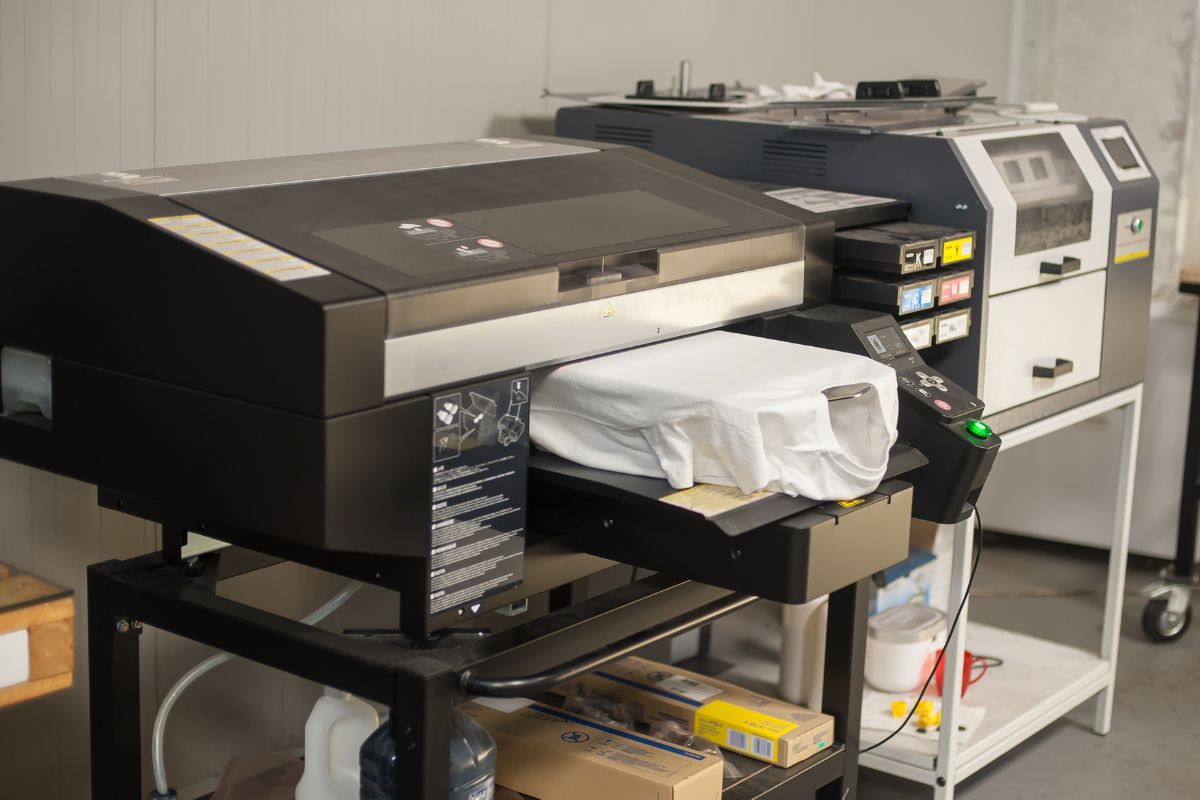
Resolution and File Format Recommendations
For direct-to-garment printing (DTG), a resolution of 300 dpi (dots per inch) ensures a clear image transfer. Your design files should ideally be in PNG or SVG format. PNGs work well with designs that have a transparent background, while SVGs are scalable without loss of quality, ideal for intricate designs like those used in Cricut projects or vinyl design applications. Always ensure your design is the correct resolution and file format before you proceed to printing.
Heat Press and Transfer Techniques
When using a heat press and heat transfer vinyl (HTV), preheat your shirt to remove moisture and wrinkles, which ensures a smoother application. This involves pressing the shirt for a few seconds before the actual application. Transfer placement is critical: utilize markings and logo placement guides to position your transfers precisely. The transfer sheet must be firmly pressed following the heat press instructions, which typically specify temperature settings and press times for different types of material to ensure proper adhesion and avoid issues like peeling or cracking.
Remember, these technical specifications serve as a blueprint for producing high-quality shirt designs. Proper application of these guidelines will result in a consistent and professional product.
Branding Insights for Design Placement

When positioning your design, consider key factors such as logo visibility, brand identity reinforcement, and the specifics of garment type to optimize brand recall and recognition.
Incorporating Logos and Branding
Your logo serves as a key identifier for your brand. Left Chest Placement is common for most apparel, where logos are typically sized between 2.5″ to 5″ in width and height. For a Center Chest placement, aim for a logo size around 6″-10″ wide and 6″-8″ tall. With Full Front designs, a size range of 10″-12″ wide and 10″-14″ tall is ideal to maintain brand prominence without overwhelming the garment. Consistent logo placement across different apparel types enhances your brand’s recognizability. It’s also important to note the placement and position specifics for garments like long sleeves, where logo design can feature along the sleeve length or at the cuff for a subtler branding approach.
Right Chest and Pocket Design Tactics
Right Chest Placement involves precise positioning to balance the garment’s visual aesthetics with brand exposure. Measure 5.5 to 8 inches down from the shoulder’s seam and 4-6 inches from the center of the garment to ensure your logo is centered correctly. For pocket designs, the positioning should be centered above the pocket or on it, but should avoid the under-arm area to keep the design visually accessible. Rear design placement, especially under the back collar, is becoming increasingly popular and can hold a smaller iteration of the logo at about 3″ × 3″. This placement is subtle yet effective for brand visibility when the front is not in view. As an apparel decorator, using screen printed transfers and positioning tips for these areas ensures a professional and cohesive look.
Frequently Asked Questions
In customizing apparel, specific guidelines exist to ensure that designs are both visually appealing and appropriately placed. Understanding these standards can significantly enhance the overall look of your customized shirt, hoodie, or jersey.
What is the standard placement for a logo on a t-shirt?
For a standard t-shirt, your logo typically goes on the left chest. Measure 7 to 9 inches down from the left shoulder seam, then center between the middle of the shirt and the side seam. For larger sizes, consider starting 4 inches from the centerline.
What guidelines should be followed for t-shirt design placement?
Your design should be centered between the left and right seams and placed appropriately depending on the t-shirt style. For a full front design, the top of the graphic should be approximately 2 to 3 inches from the collar seam on a standard crew neck tee.
How to determine the correct design size for a hoodie?
The ideal design size for a hoodie depends on whether it has a front pocket. Generally, place the design above the pocket, centering it between the left and right seams and ensure it’s visible when worn; usually starting around 2 to 3 inches above the pocket.
Where should a design be positioned on the back of a shirt?
Position your design between the shoulder blades for the back of a shirt. Start the design around 5 inches from the shirt’s collar seam, ensuring it’s centered across the breadth of the shirt for balance.
What are the measurements for name and number placement on sports jerseys?
A name should be centered across the shoulders, with each letter typically 2 inches tall. Numbers for the jersey back should be centered, typically around 10 inches tall, and placed just below the name, or around 8 inches below the collar seam.
What is the recommended distance from the neckline to place vinyl on a t-shirt?
For vinyl placement on a crew neck t-shirt, start your design approximately 1 to 3 inches below the neckline depending on the size and style of the shirt, ensuring it’s visible and balanced when worn.